


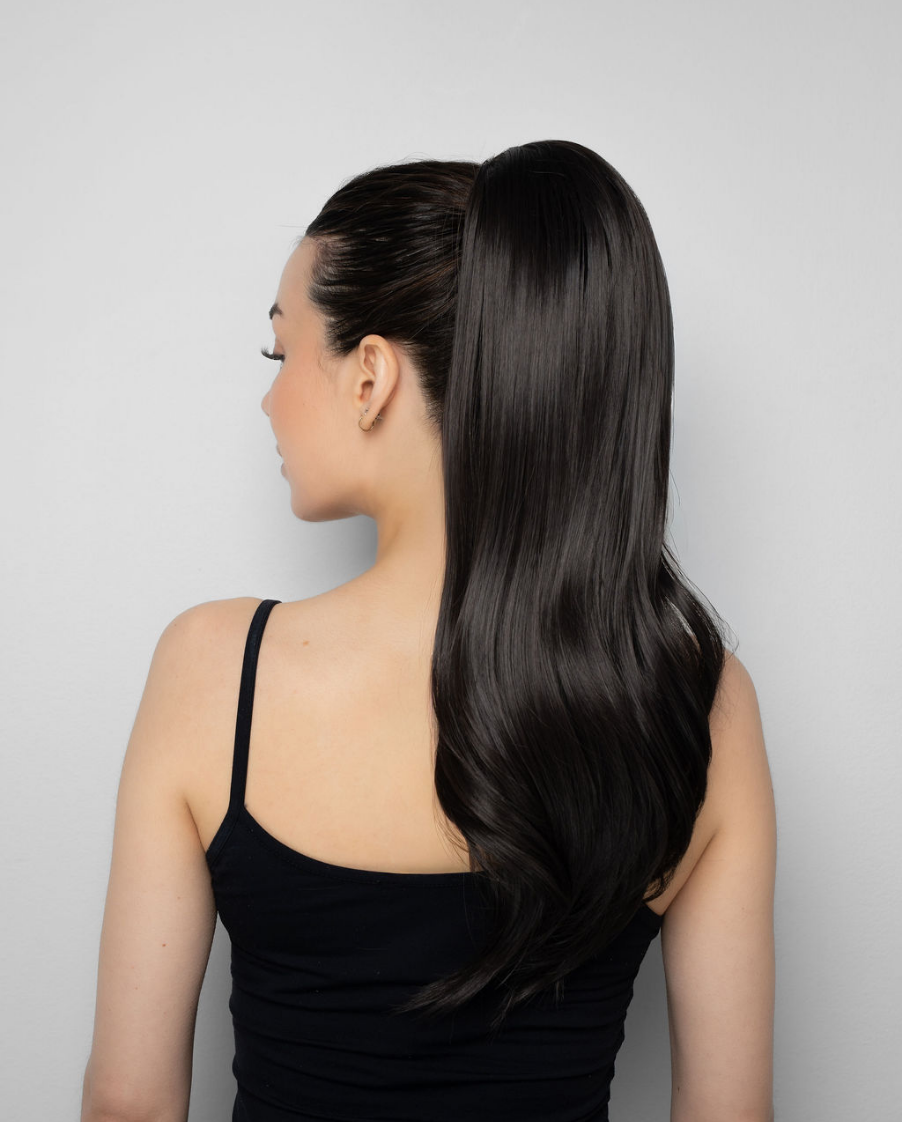
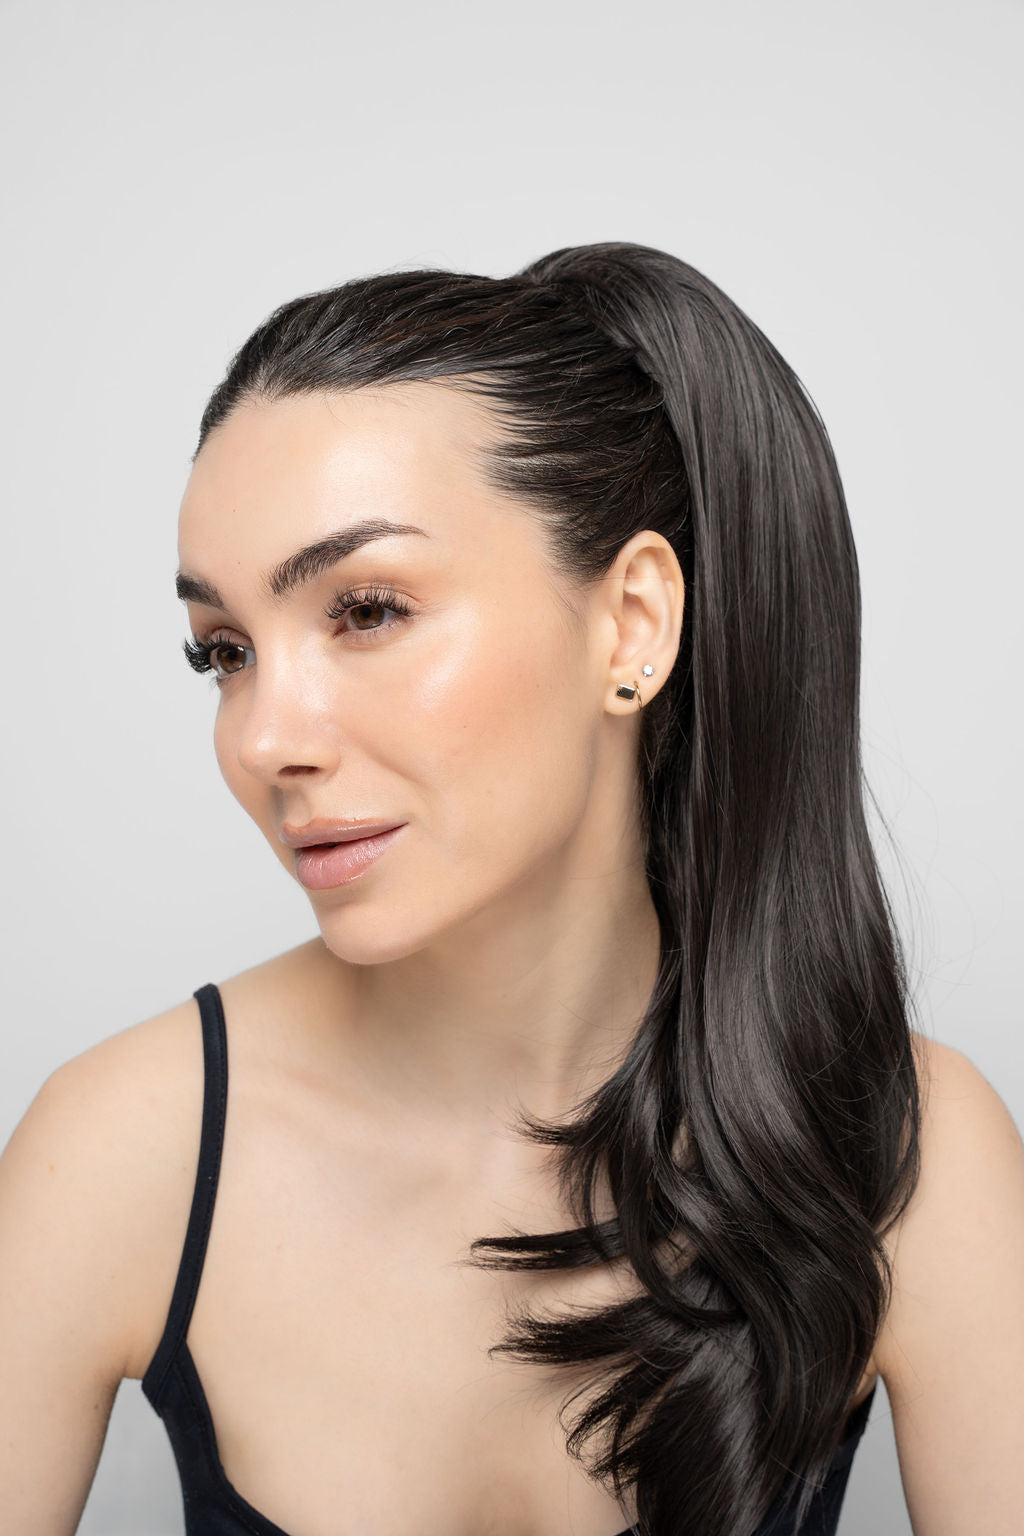


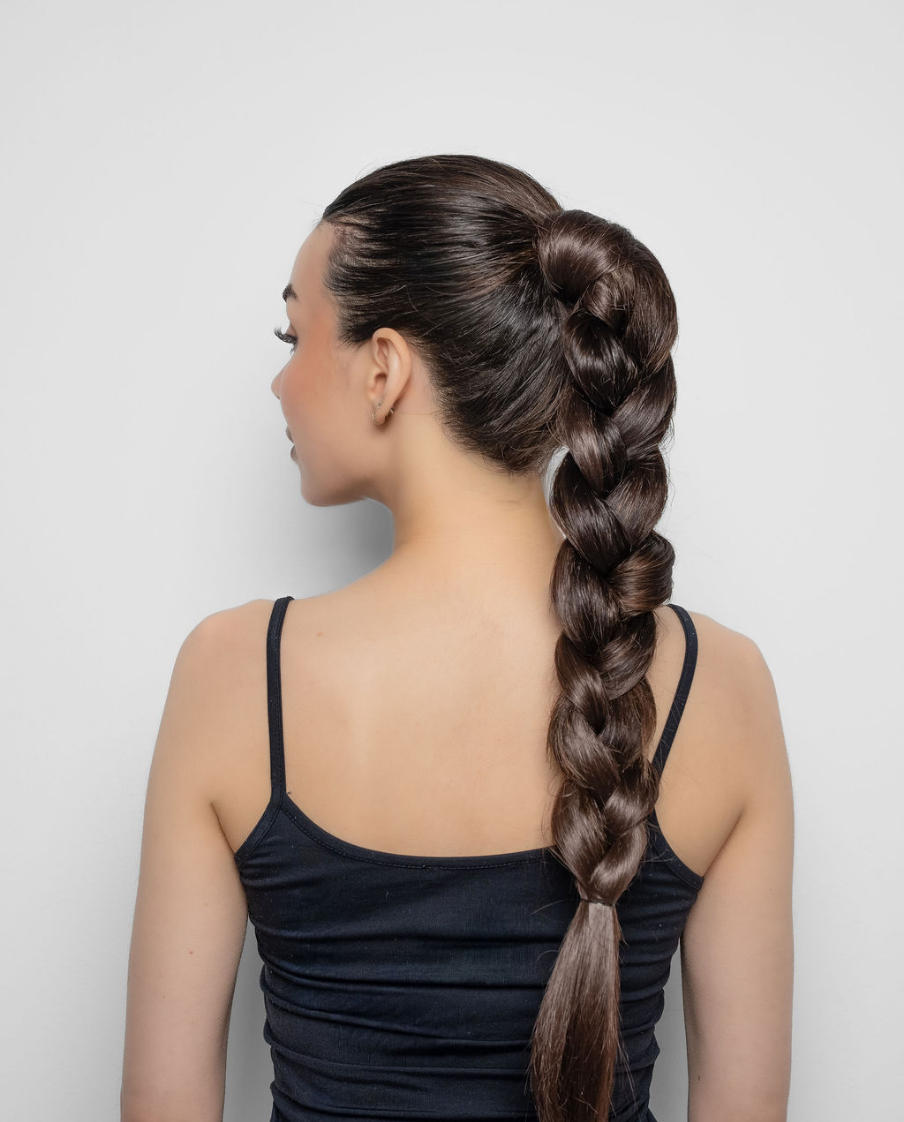
Kim Braided Ponytail
Here you’ll find everything you need to know about installing your Kim Braided Ponytail, how to take care of it, and inspiration on how to style it.

Kim Ponytail Installation
How To Install
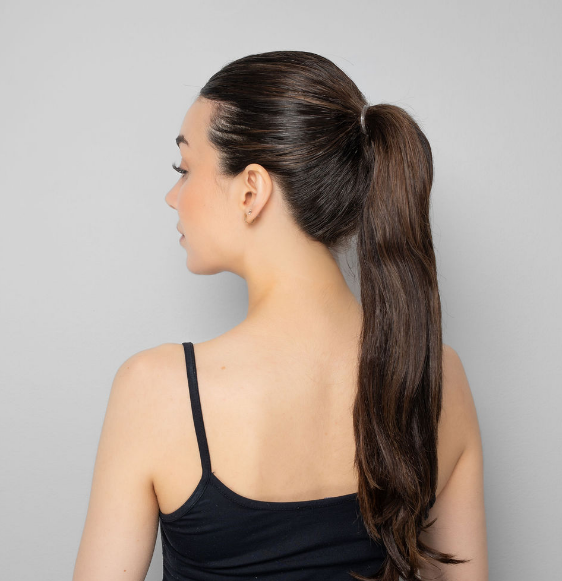
Step 1 — Prepare Your Base
Tie your natural hair into a ponytail using a separate elastic. The more secure your ponytail base, the more seamless the final braided look.
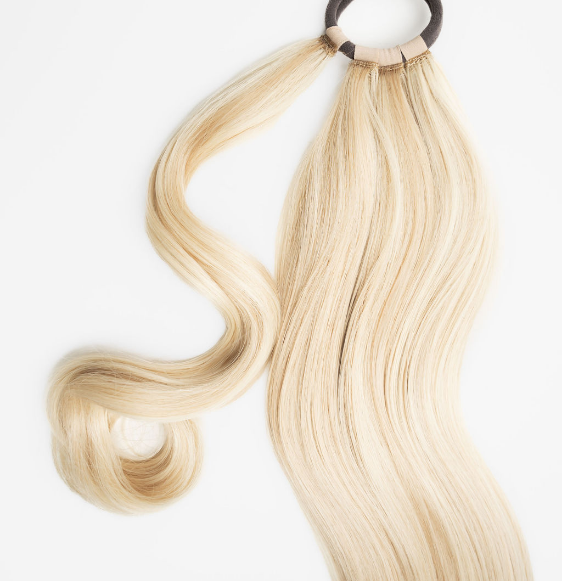
Step 2 — Attach & Secure
Attach the Kim Ponytail using the elastic from the extension. Braid the extension into your hair for a seamless blend, and secure with another elastic.
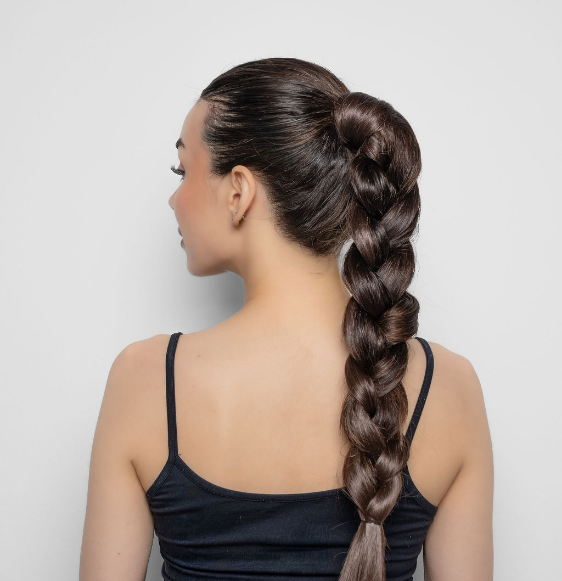
Step 3 — Braid & Blend
Take the extra hair piece and wrap it around the base to conceal the attachment. Secure with a pin to blend with your natural hair.
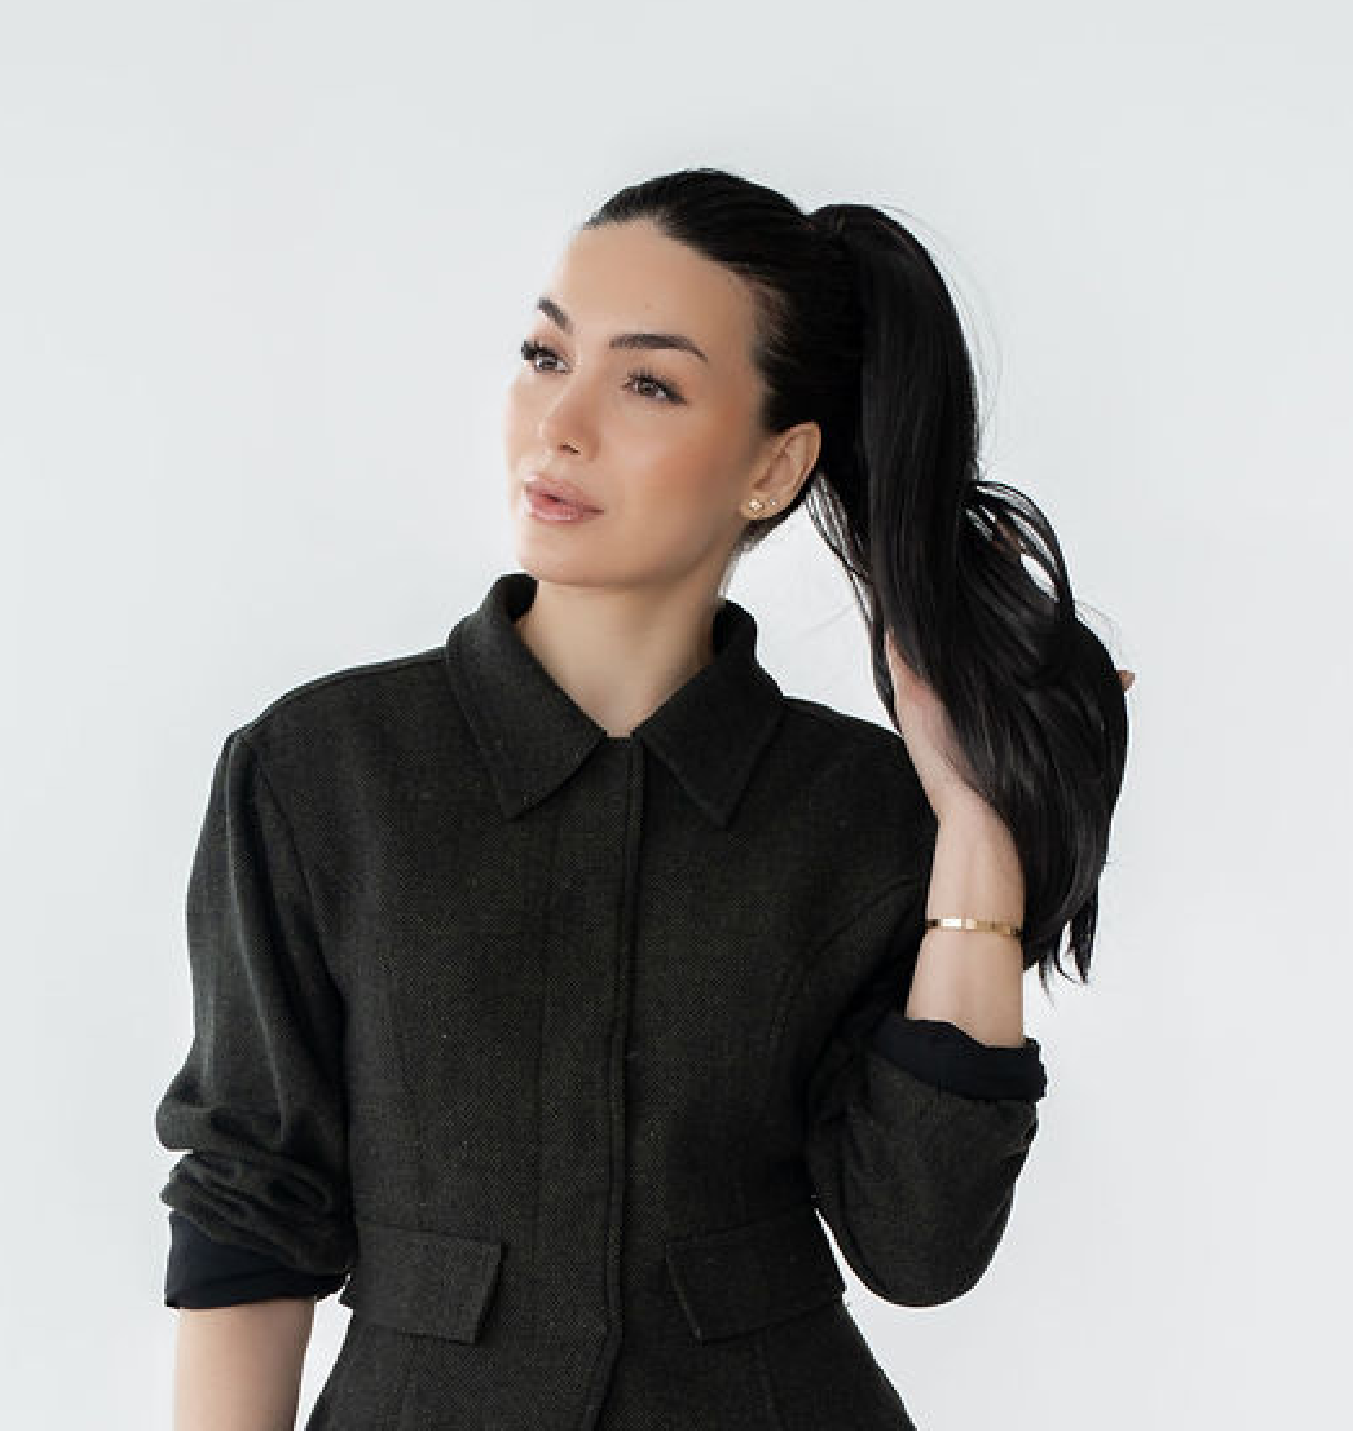
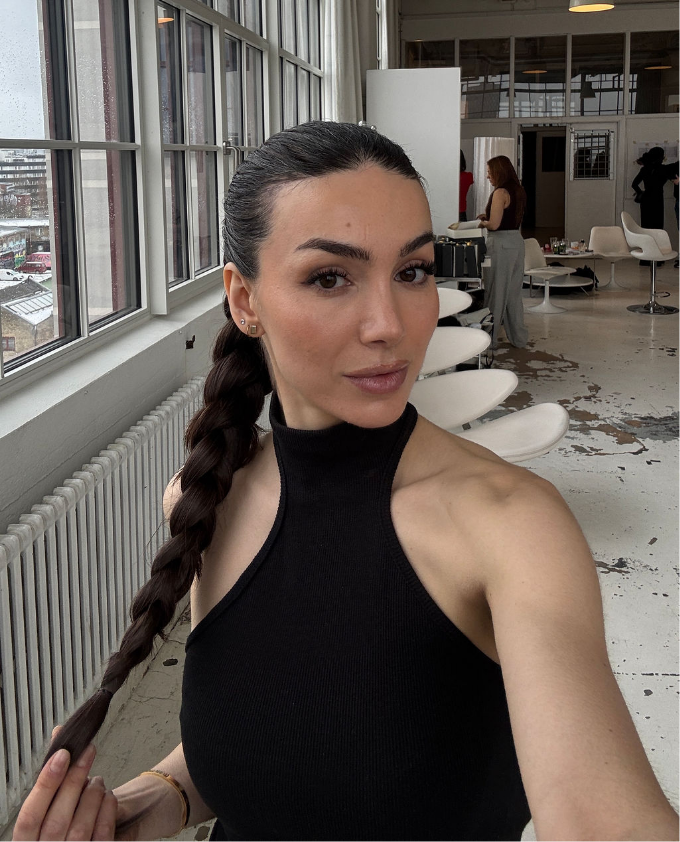
Play With Placement
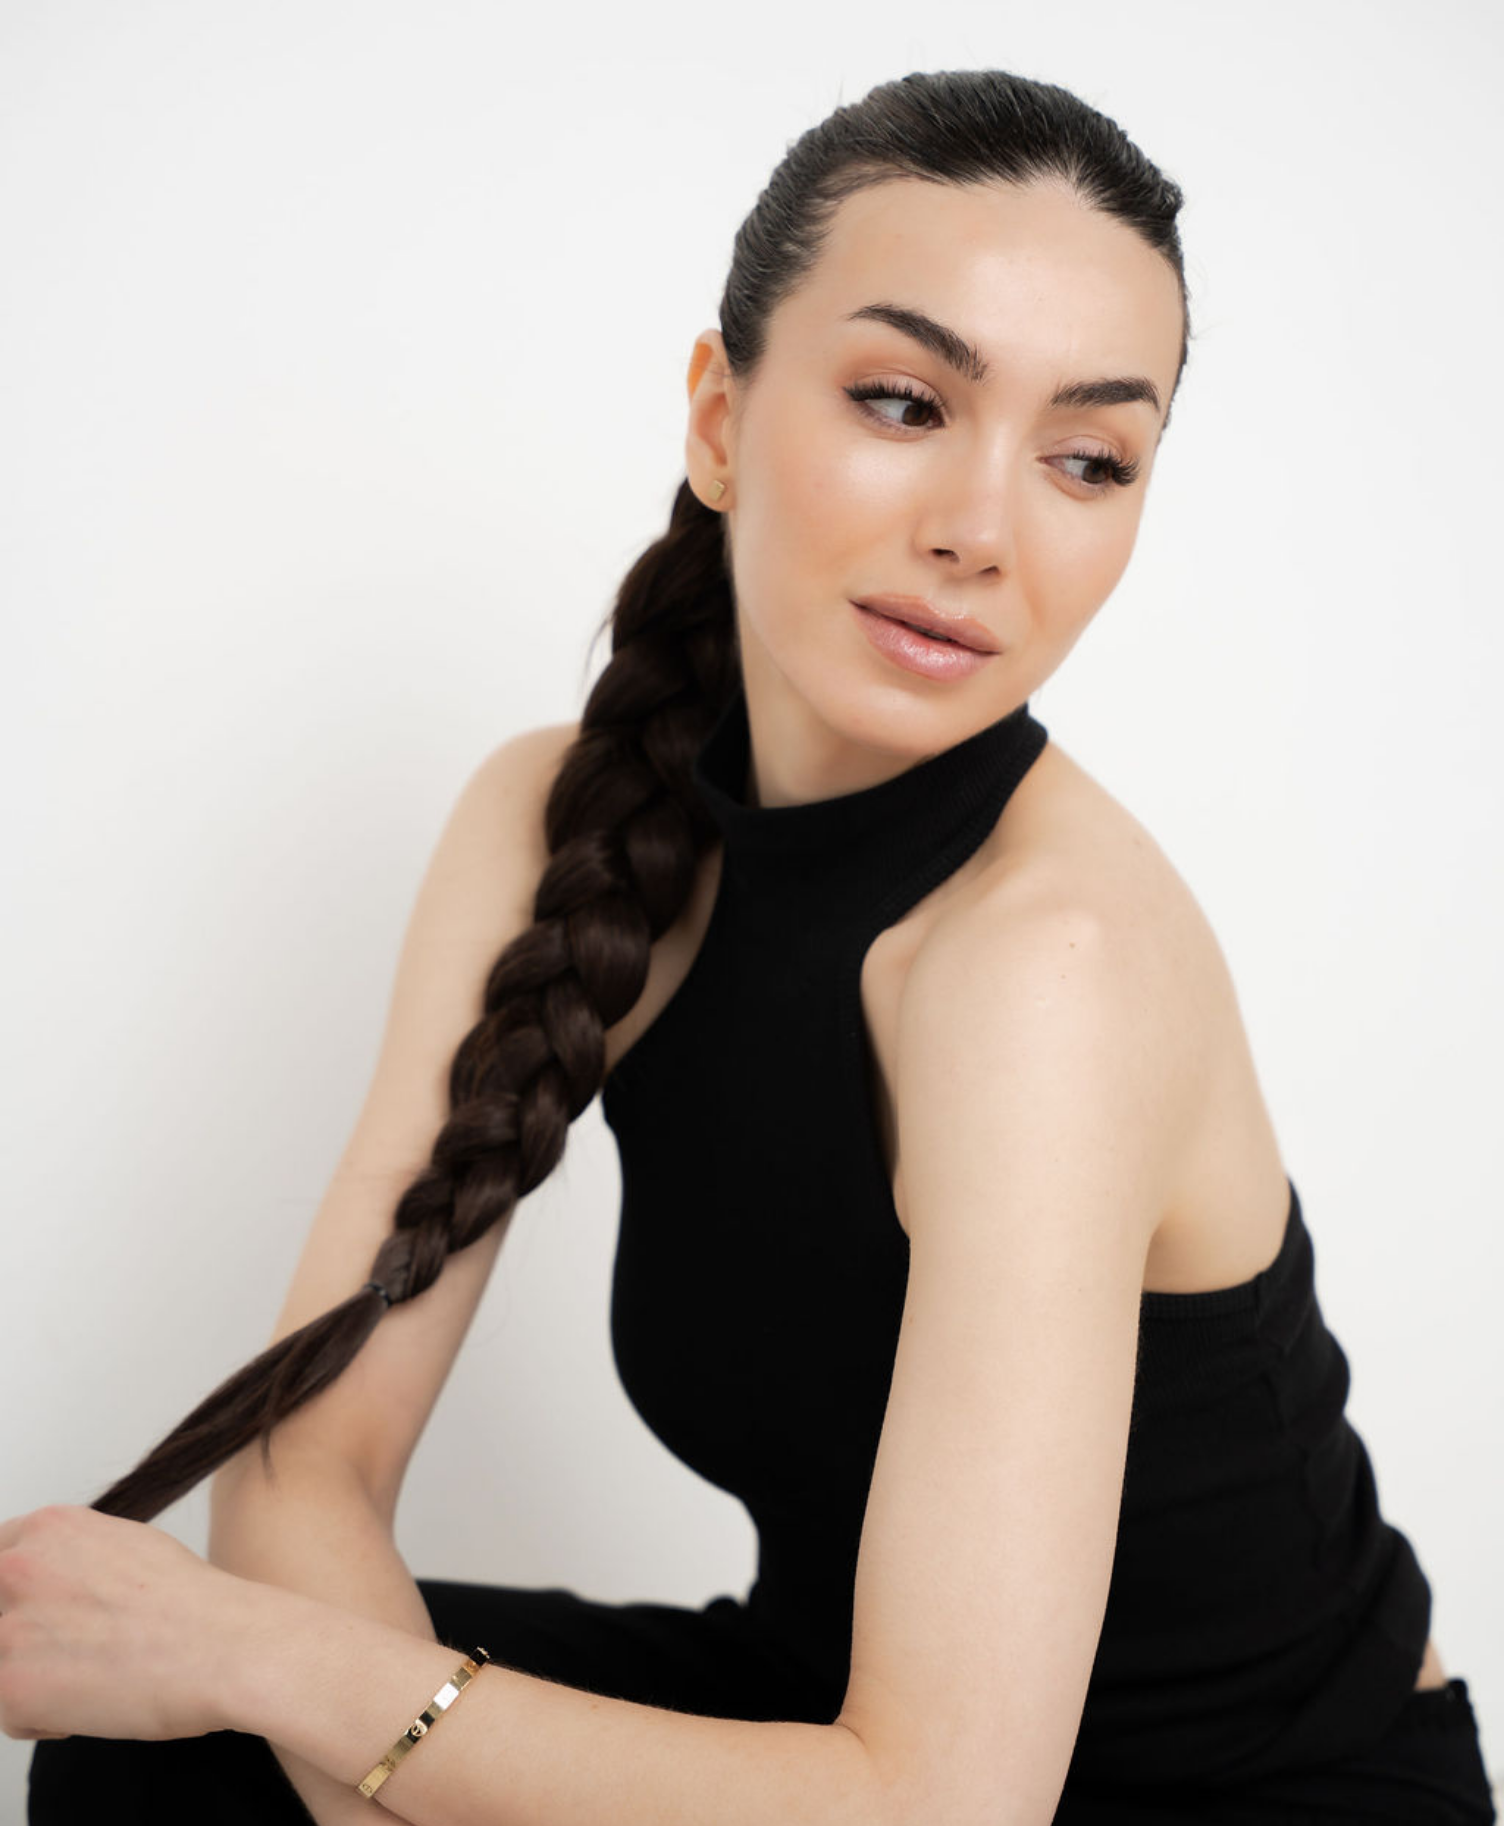
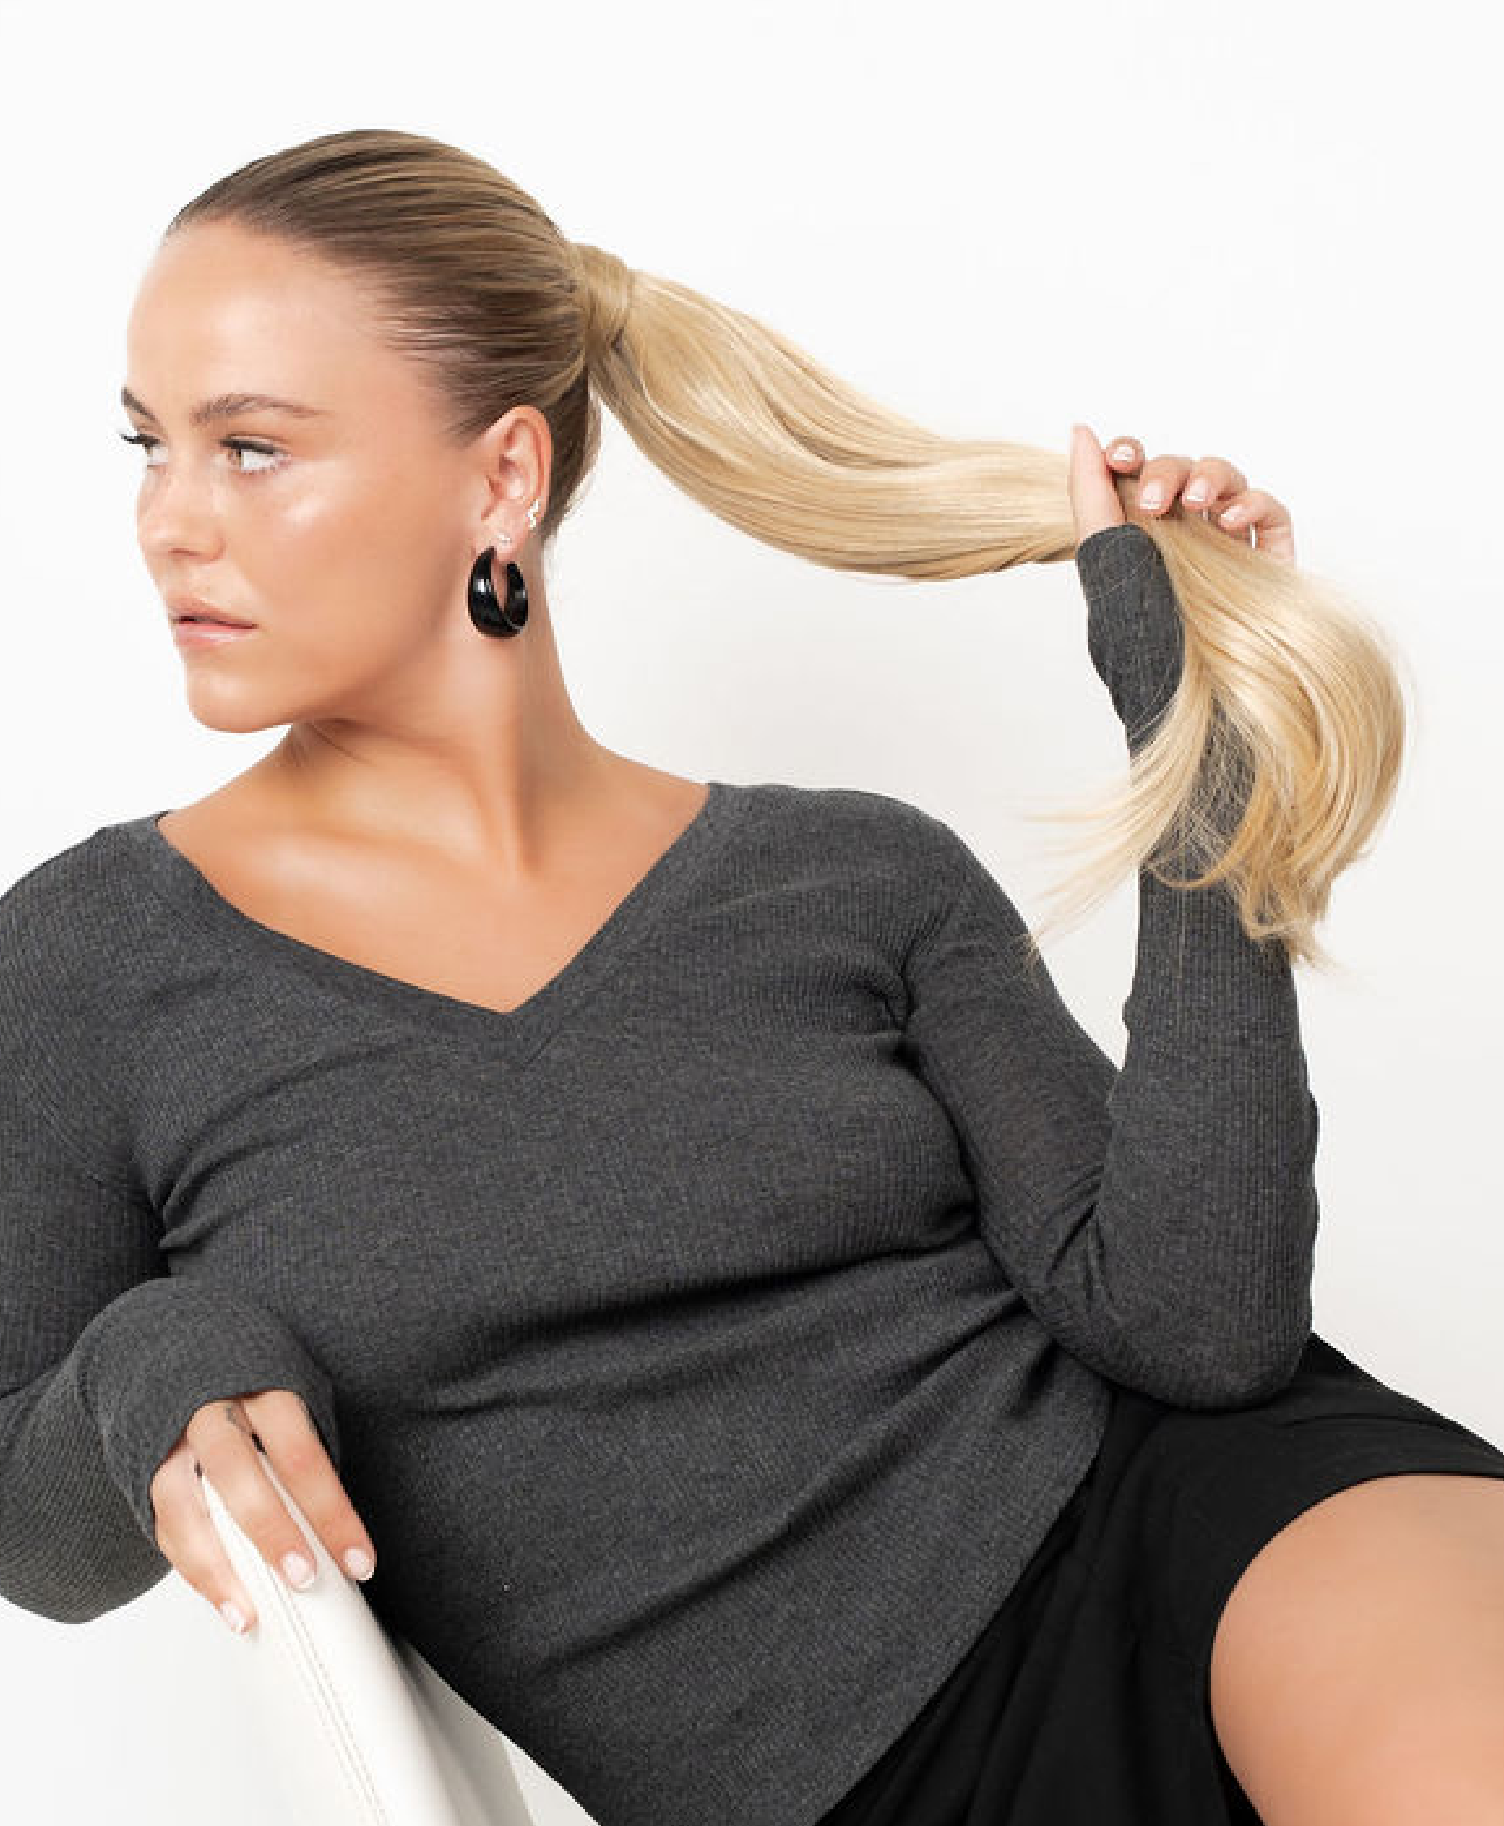
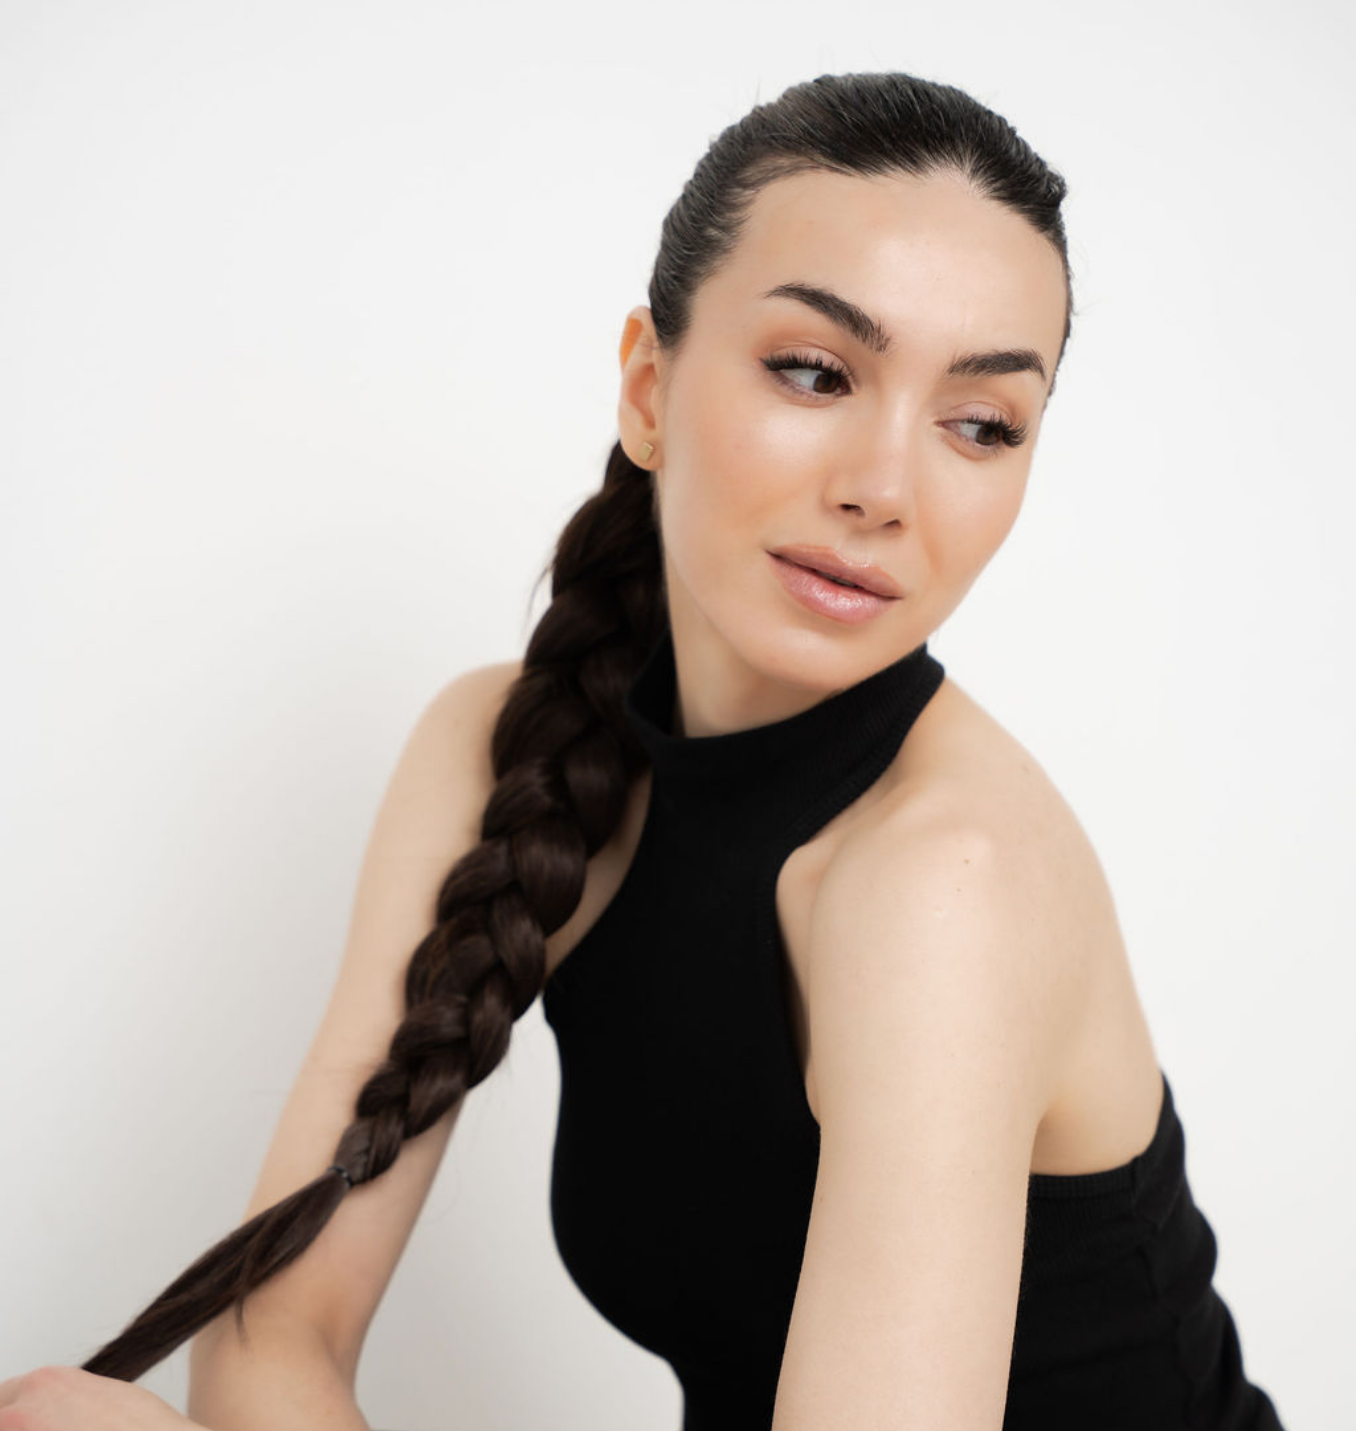
The position of your ponytail changes the entire look. A higher placement will create a more dramatic statement, while a lower braid leans softer and more understated. Adjust based on the mood you want to create.
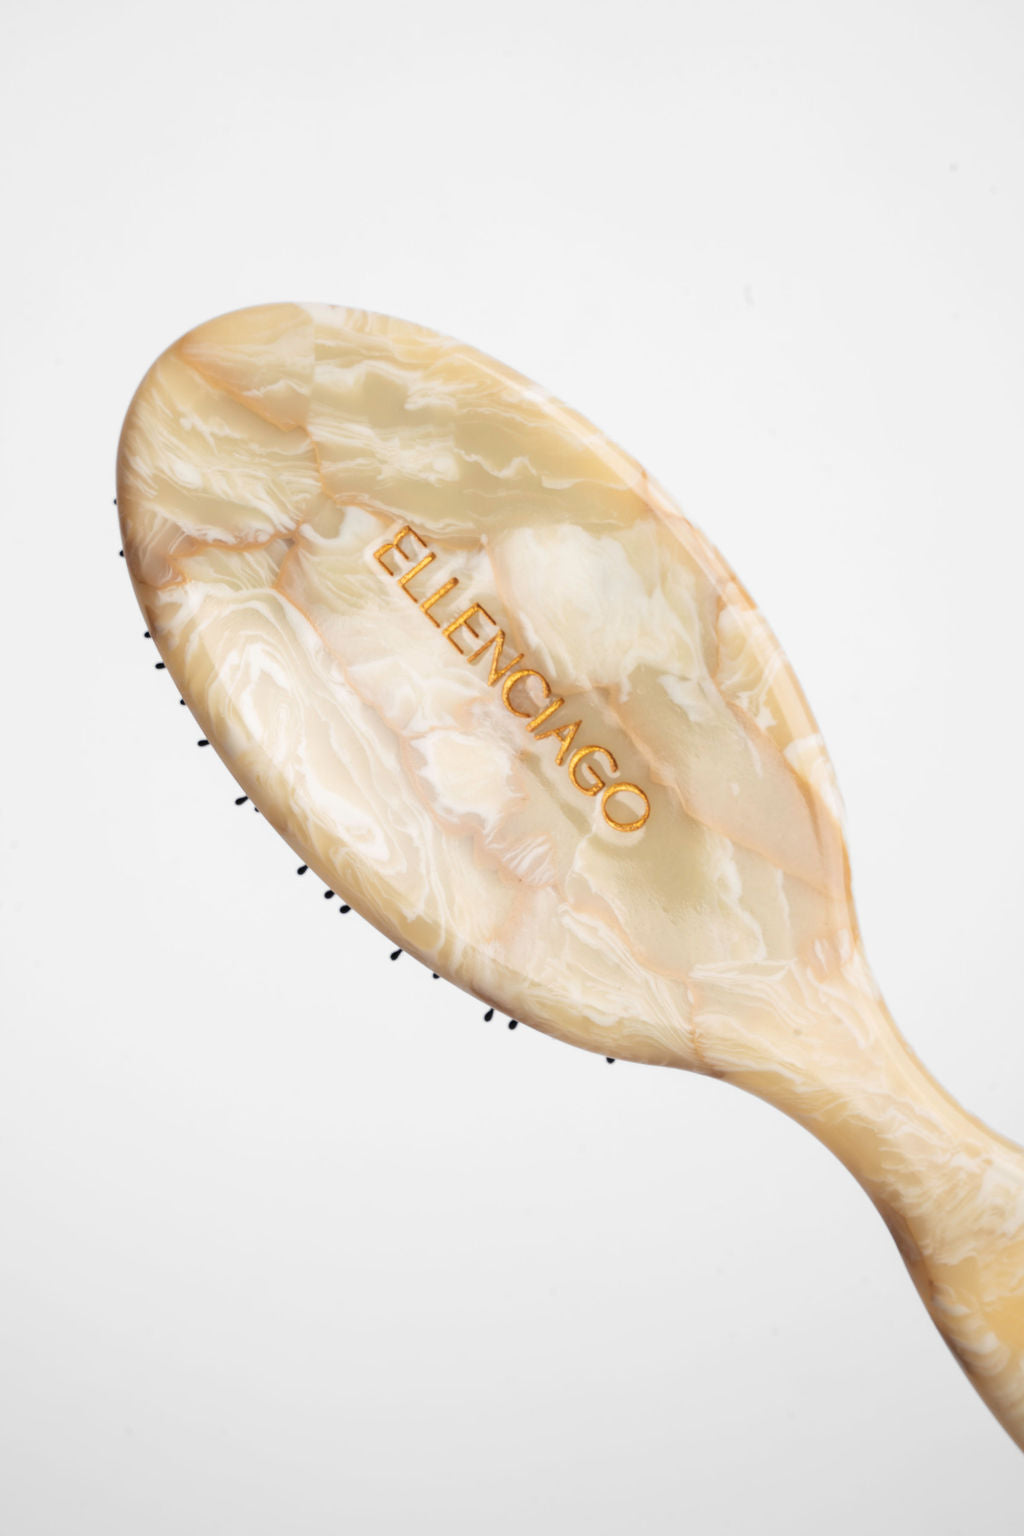
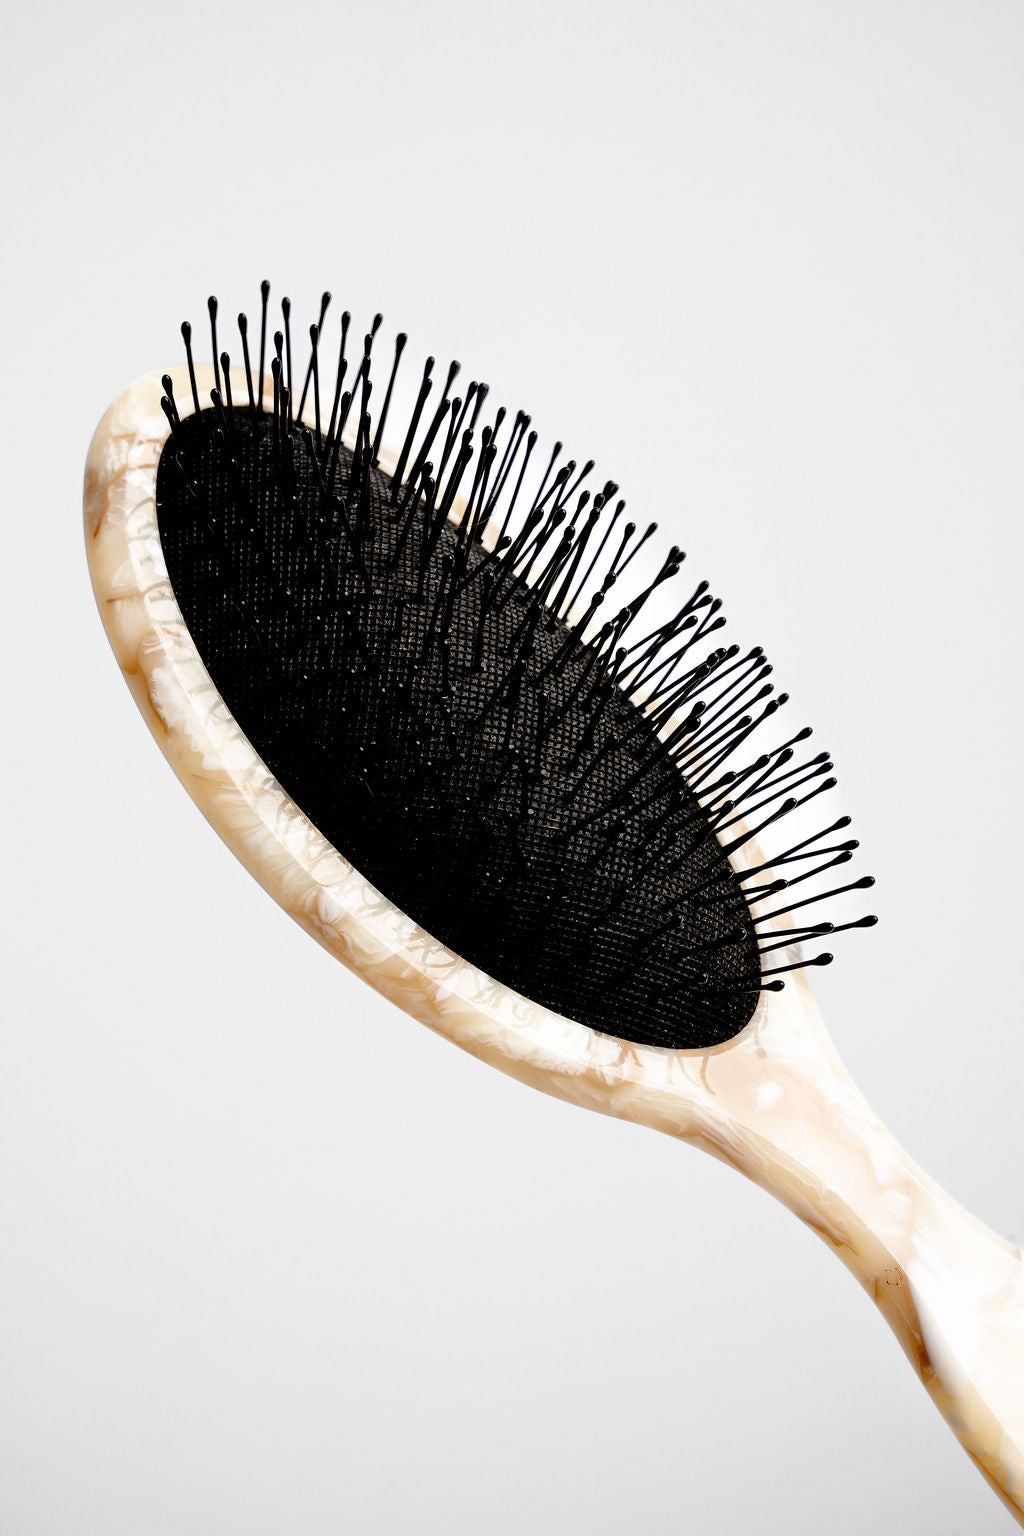
Sleek Base
Start with a sleek base. A smooth, secured ponytail makes all the difference. Using a brush and a bit of styling product helps control flyaways and creates that clean, polished finish that will match your braided ponytail.
Methods To Secure
You can add a few more bobby pins or an elastic band to hold the part of the ponytail you wrap around.

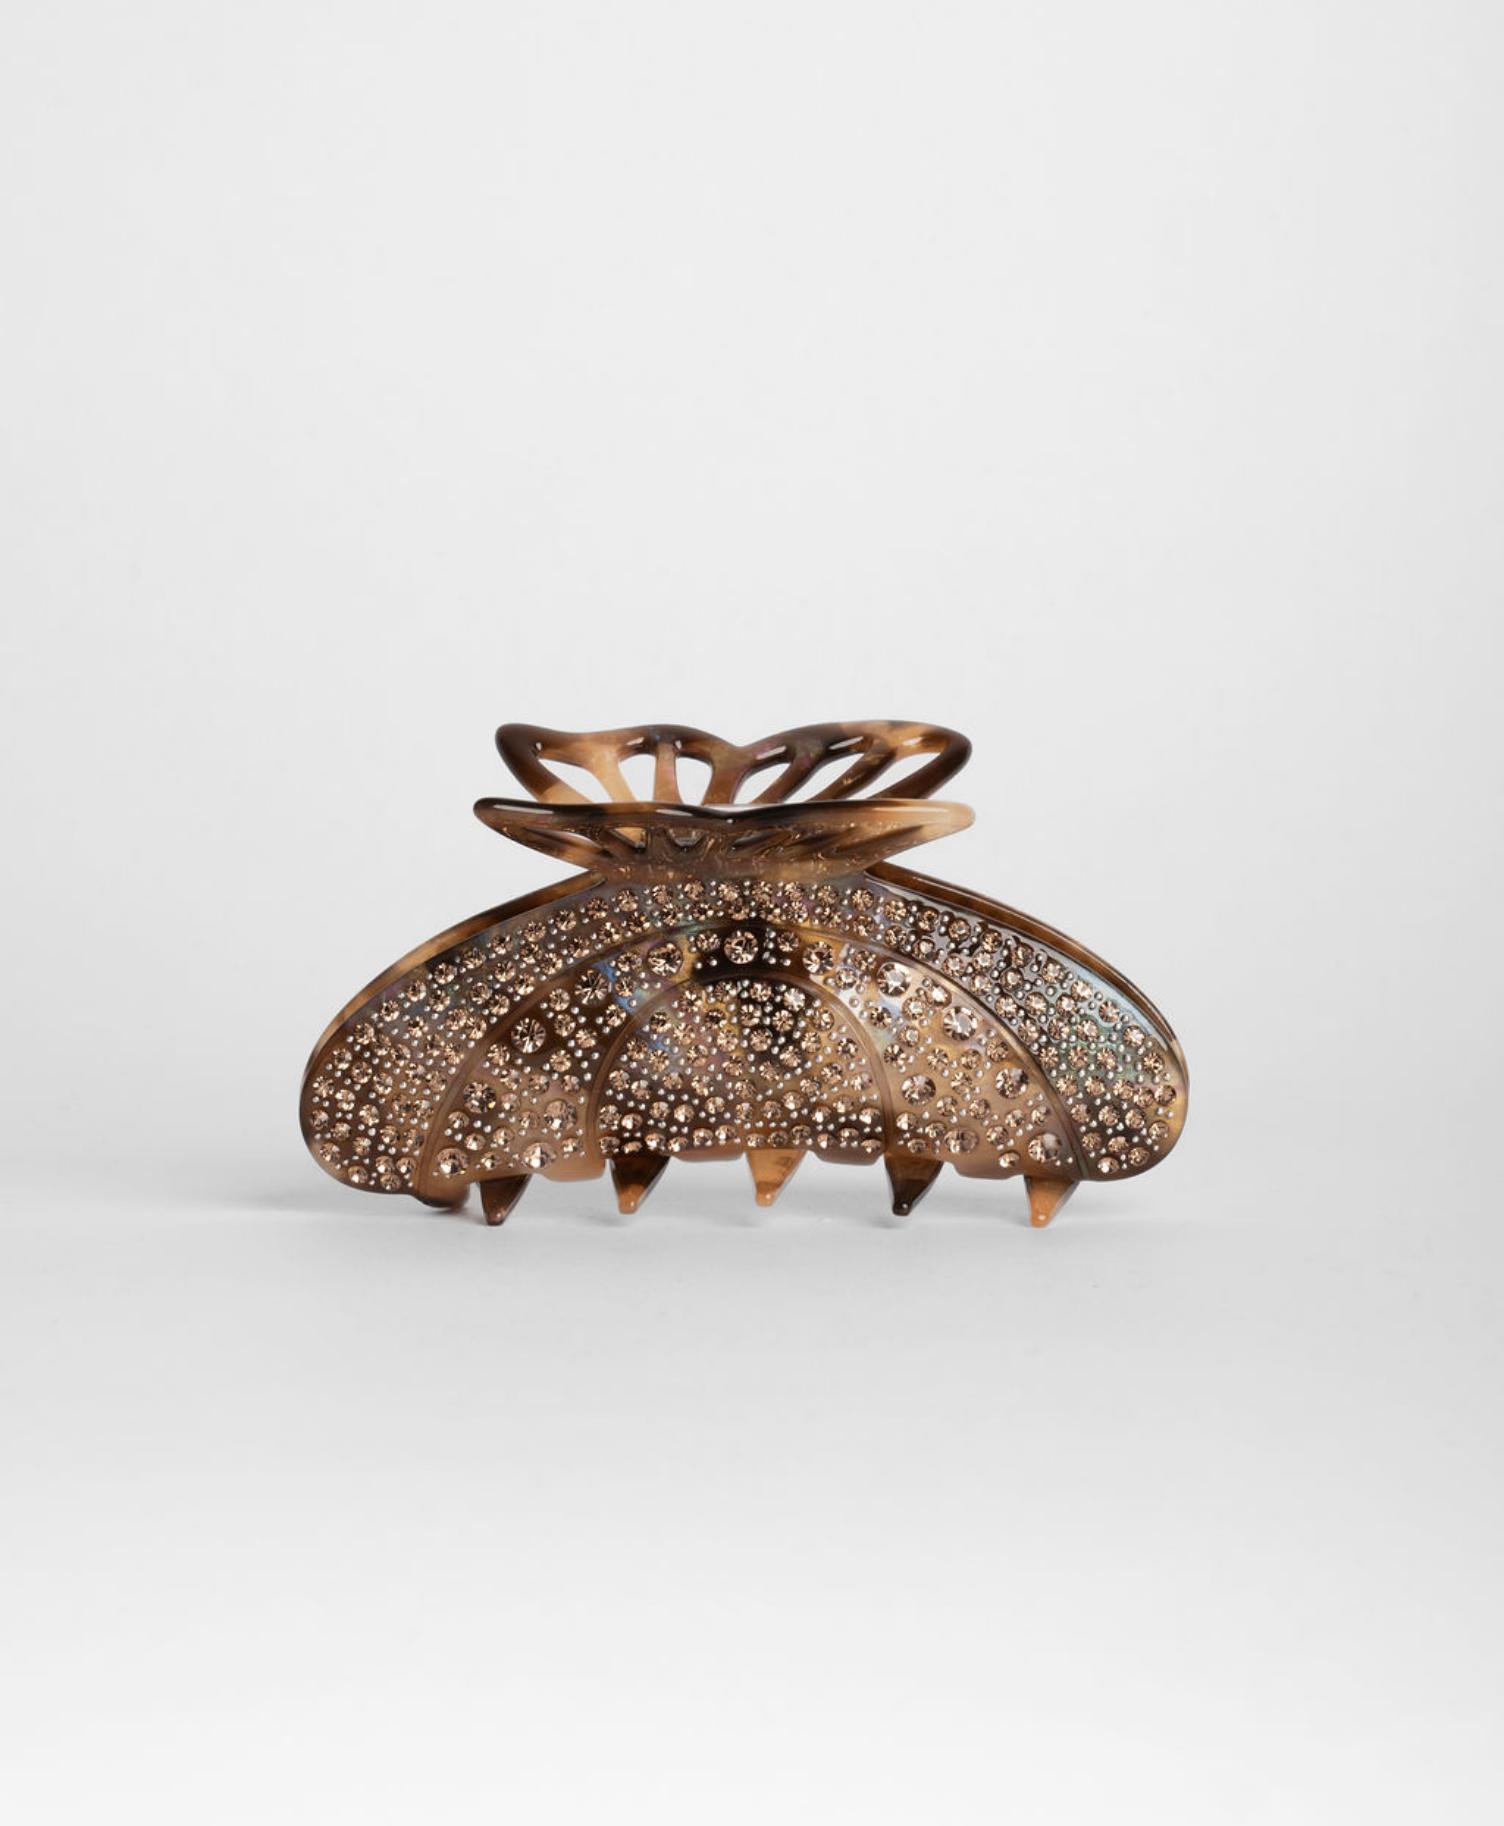
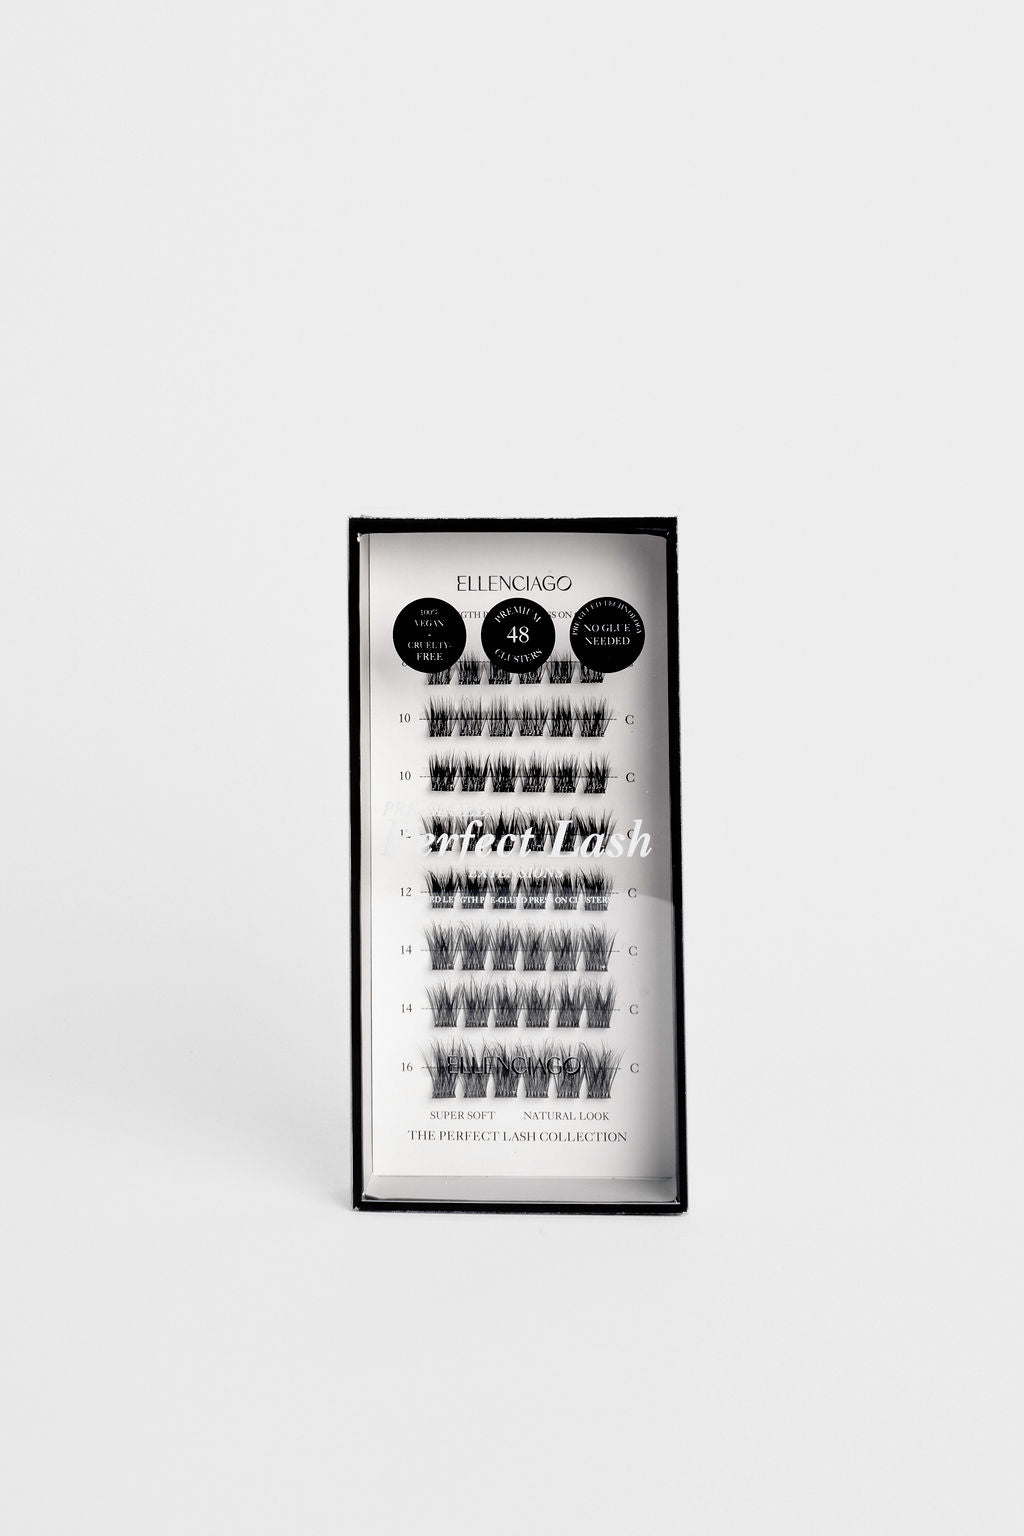
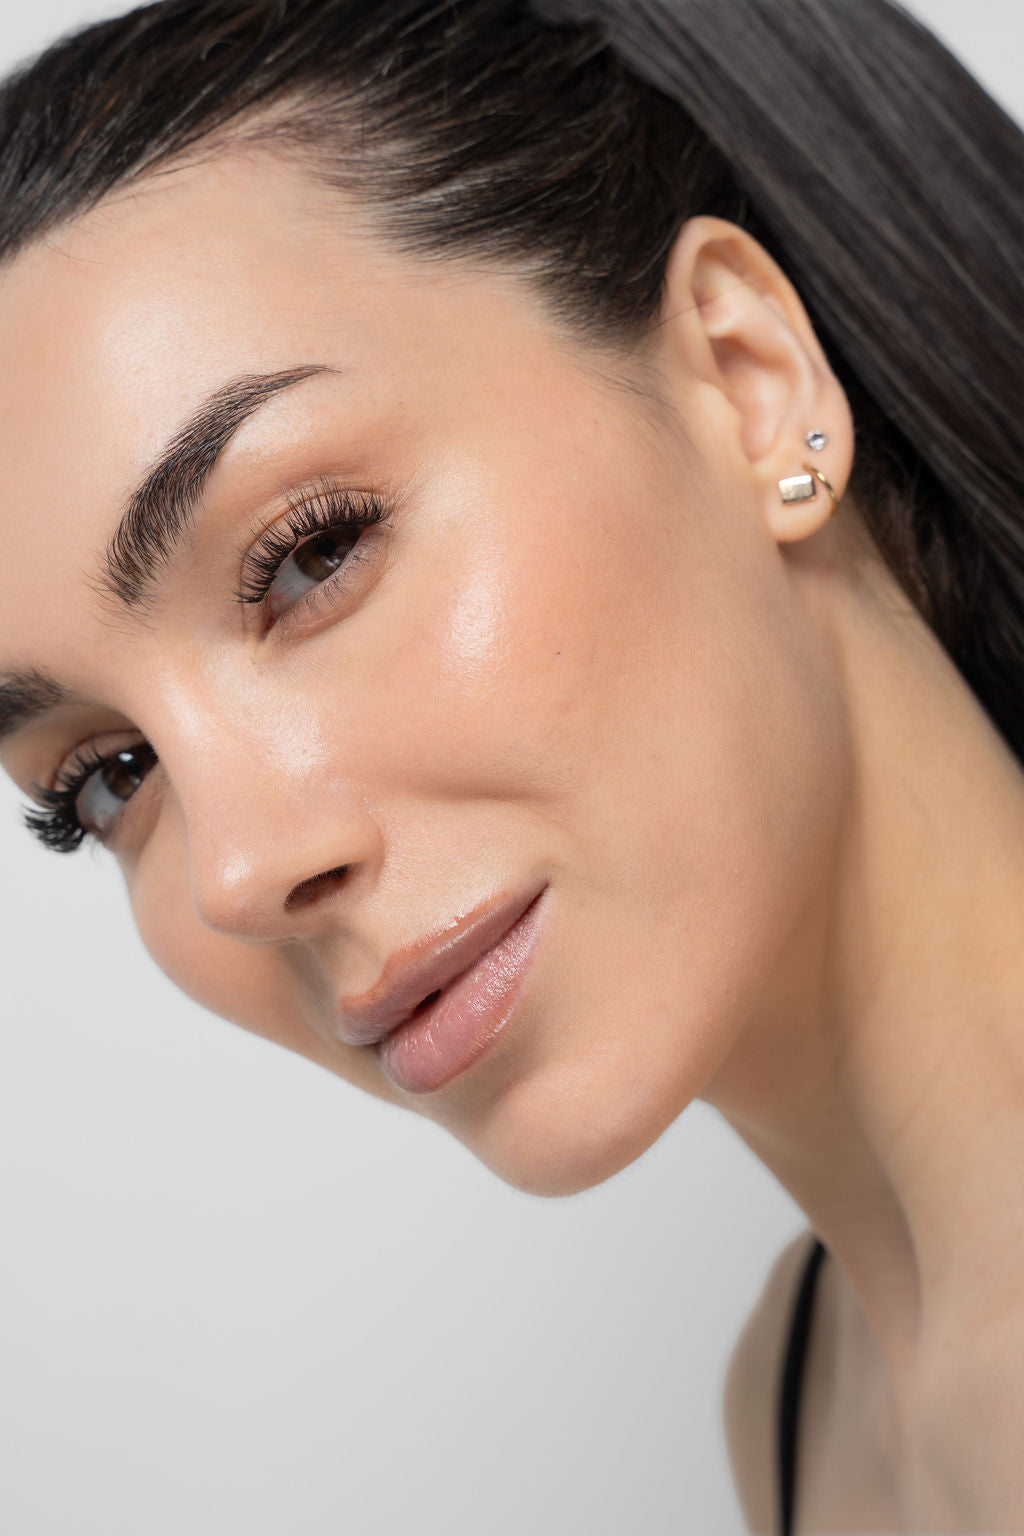
Shop The Essentials

Frequently Asked Questions
 Is this only for straight hair types?
 Is this only for straight hair types?
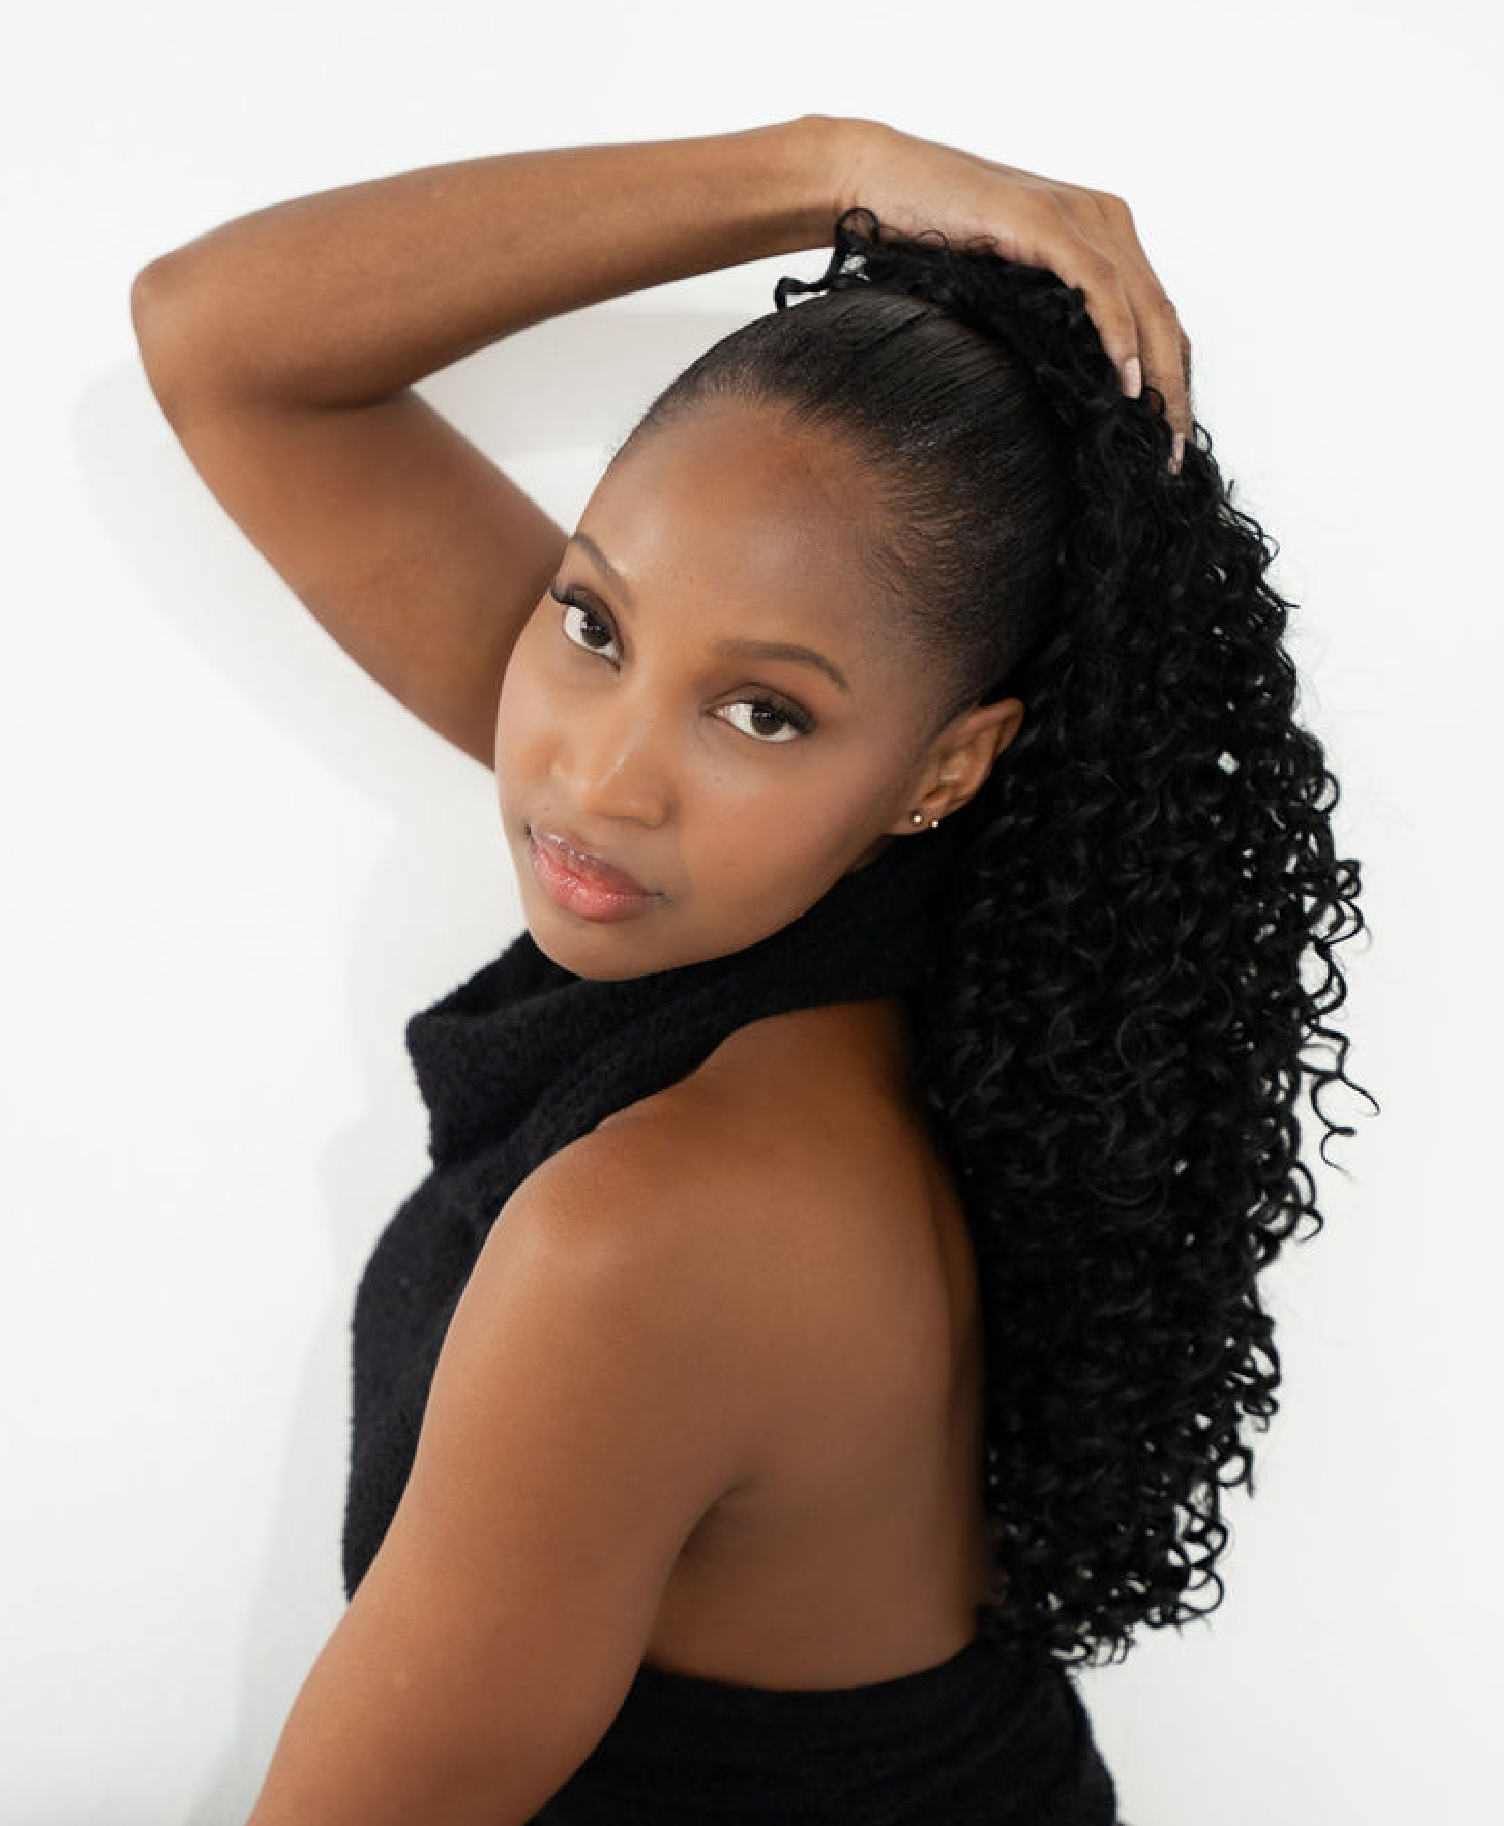
No. Kim can be worn by anyone with hair that can be braided into the ponytail. We do suggest slightly straightening your natural ponytail first for the most natural blend.
How long do extensions last for?
How long do extensions last for?Hair extensions typically last up to 6 months with regular wear, depending on how often they’re used and how well they’re cared for. With gentle handling and proper storage, their shape and finish can be maintained for much longer.
How do you wash and care for extensions?
How do you wash and care for extensions?Brush your hair through, wash with a mild shampoo, and use a leave-in conditioner for extra care.
Styling Inspiration


How To Remove & Care For Your Extension